Easy Crochet Granny Square: Materials and Free Pattern
A stack of finished granny squares feels substantial and squishy in your hands, offering a tactile satisfaction that mass-produced store items simply cannot replicate. These classic motifs work well for beginners practicing consistent tension while providing experienced makers a meditative way to empty their scrap yarn bins. You can join them into cozy afghans, sturdy market bags, or even colorful pillows that add warmth to any living space. This guide covers the specific yarn types and hook sizes that ensure your stitches hold their shape, allowing you to master the fundamental chain and double crochet techniques required to create a balanced, uniform square every time.
Why You’ll Love This Pattern
The Classic Crochet Granny Square is the fundamental building block of crochet design. This specific pattern focuses on a traditional five-round square that balances stitch density with a lightweight drape. It is a highly efficient way to use leftover yarn scraps from larger projects. Because the pattern relies on repeating clusters, it is easy to pick up and put down, making it a portable option for crocheters who like to work on the go. You can combine multiple finished squares to create blankets, bags, or even garments with a timeless aesthetic.
I finally learned how to keep my corners square using this exact method, and now I have a whole stack of them ready to be joined into a throw blanket.
— Sarah, hobbyist maker
Pattern Overview & Skill Level
- Skill Level: Beginner
- Approximate Time: 30 to 45 minutes per square
- Construction: Worked in joined rounds, starting from the center and moving outward
- Finished Dimensions & Sizing: Approximately 5 inches square when worked in worsted weight yarn
Materials & Supplies Needed
- Yarn: Worsted weight (#4) acrylic or wool blend, approximately 20 yards per square.
- Hook Size: 5.0 mm (US H-8).
- Notions needed: Tapestry needle for weaving in ends, sharp scissors.
- Safe yarn substitutions: You can use DK weight yarn for a smaller square or chunky weight for a larger, denser square, though these changes will alter your finished size and require a corresponding change in hook size to maintain the correct gauge.
Stitch Guide & Abbreviations (US Terms)
- ch: chain
- st/sts: stitch/stitches
- sl st: slip stitch
- dc: double crochet
- dc cluster: a group of 3 dc worked into the same space
- sp: space (the gap created by ch stitches in the previous round)
- MR: magic ring (or alternate by ch 4 and sl st to the first ch to form a ring)
Step-by-Step Pattern Instructions
Square Body
- Rnd 1: Start with a MR. Ch 3 (counts as first dc here and throughout), 2 dc into the ring, ch 2, *3 dc into the ring, ch 2; repeat from * twice more. Join with a sl st to the top of the beginning ch-3. (12 dc, 4 ch-2 sps)
- Rnd 2: Sl st into the next dc and into the first corner ch-2 sp. Ch 3, (2 dc, ch 2, 3 dc) in same corner sp. *Ch 1, (3 dc, ch 2, 3 dc) in next corner sp; repeat from * twice more. Ch 1, join with a sl st to the top of the beginning ch-3. (24 dc, 4 ch-2 sps, 4 ch-1 sps)
- Rnd 3: Sl st into the next dc and into the corner ch-2 sp. Ch 3, (2 dc, ch 2, 3 dc) in corner sp. *Ch 1, 3 dc in the next ch-1 sp, ch 1, (3 dc, ch 2, 3 dc) in next corner sp; repeat from * twice more. Ch 1, 3 dc in last ch-1 sp, ch 1, join with a sl st to the top of the beginning ch-3. (36 dc, 4 ch-2 sps, 8 ch-1 sps)
- Rnd 4: Sl st into the corner sp. Ch 3, (2 dc, ch 2, 3 dc) in corner. *Ch 1, 3 dc in each ch-1 sp across to next corner, ch 1, (3 dc, ch 2, 3 dc) in corner; repeat from * twice more. Ch 1, 3 dc in each ch-1 sp across, ch 1, join with a sl st to the top of the beginning ch-3. (48 dc, 4 ch-2 sps, 12 ch-1 sps)
- Rnd 5: Repeat Rnd 4. This round adds the final layer, increasing the stitch count to (60 dc, 4 ch-2 sps, 16 ch-1 sps).
Finishing
After completing Round 5, fasten off the yarn, leaving a 6-inch tail. Use a tapestry needle to weave the yarn tail through the back loops of the stitches to secure it. If you plan to join your squares, you may leave a longer tail if using a whip-stitch joining method, or trim it short if using an invisible join.
Care & Washing Instructions
- Hand wash your finished items in cool water with a mild wool-safe detergent.
- Gently squeeze out excess water using a towel rather than wringing the fabric.
- Lay the square flat on a blocking mat or towel to dry, shaping the corners so they remain at 90-degree angles.
Pro Tips & Common Mistakes to Avoid
Maintaining consistent tension is essential for a flat square. If your square begins to ripple, your tension is likely too loose, or you have too many stitches; if it cups inward, you are likely too tight or missing stitches. Always place a stitch marker in the first stitch of each round so you can easily identify where to join. Weave your ends into the body of the work immediately after finishing each square to prevent a large backlog of ends at the end of your project. If you wish to adjust the size of the square, simply repeat the pattern of Round 4 for as many additional rounds as you prefer; keep in mind that larger squares will require significantly more yarn per unit.
Frequently Asked Questions
Can I use cotton yarn instead of acrylic?
Yes, cotton yarn works well for squares, though it has less stretch than acrylic. You may find you need to work a slightly looser tension or use a hook one size larger to achieve the same finished dimensions.
Is this pattern suitable for a total beginner?
Yes, this pattern uses only the double crochet stitch and chain stitches. It is a standard exercise for learning how to work in the round and manage corners.
How do I join these squares together?
You can use a whip stitch for a raised seam or a flat slip stitch join for a cleaner, lower-profile connection. Both methods work well with the chain-space construction of this square.
Can I sell items made from this pattern?
You are welcome to sell finished items made from this pattern, but please credit the designer and provide a link to the original pattern page when listing your items online.
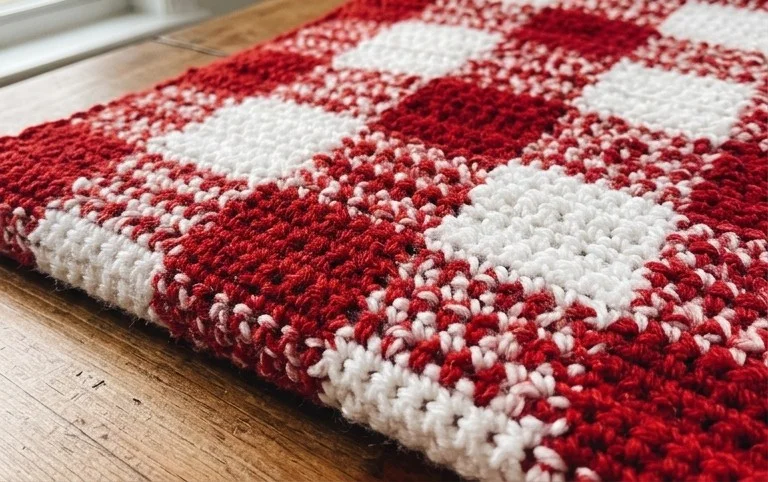
Your finished project now holds a lovely texture that only improves with a light steam block to flatten the edges and define the clusters. Try working your next square in a variegated yarn to see how the color shifts change the appearance of the classic pattern. Sharing your progress on social media helps other makers see how these simple squares come together into larger pieces, so please post a photo of your work. Feel free to browse through the rest of the blog for more patterns that use the same basic crochet supplies.