10 Free Crochet Kitchen Accessories Patterns for Christmas
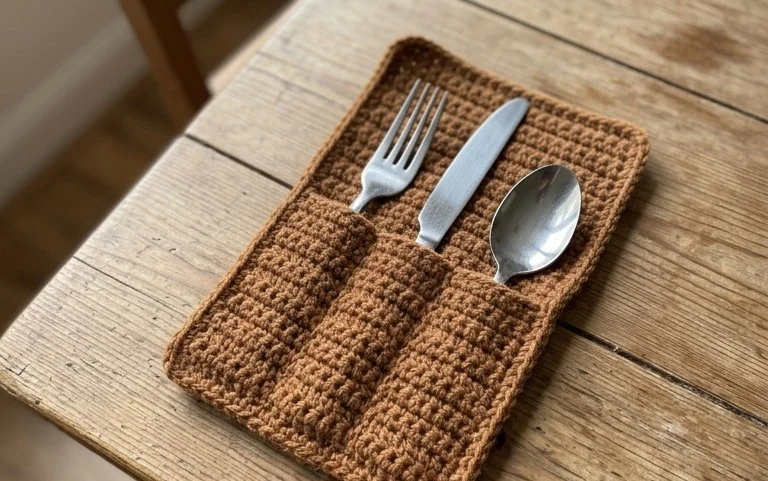
Handmade cotton dishcloths and thick oven mitts bring a cozy warmth to a kitchen that store-bought items simply cannot replicate. These kitchen accessories feature dense, functional textures that protect surfaces from heat while providing a firm grip for washing dishes or moving heavy pots. Beginners appreciate these projects because they use minimal yarn and repetitive stitches that help build muscle memory quickly. Making your own holiday presents allows you to choose colors that match a friend’s decor perfectly. You will learn how to transition between textures and secure your edges so these gifts hold up after many washings.
Why You’ll Love This Pattern
This classic crochet beanie works up quickly using basic stitches, making it a reliable project for those who want to see fast progress. The design relies on a simple, repeating texture that remains stretchy and comfortable, ensuring it fits a variety of head sizes without feeling restrictive. Because it uses a medium-weight yarn, it is an ideal choice for using up leftover partial skeins from your stash. You can complete this entire piece in a single weekend, which makes it a thoughtful, handmade gift for friends or family.
I finished this hat in two sittings and the fit is perfect. It is my new go-to project when I need a quick gift that actually looks professional.
— Sarah, hobbyist crocheter
Pattern Overview & Skill Level
- Skill Level: Beginner
- Approximate Time: 3 to 4 hours
- Construction: Worked flat as a rectangle and seamed into a tube, then cinched at the crown
- Finished Dimensions: Fits an average adult head (20-22 inches circumference)
Materials & Supplies Needed
- Yarn: Worsted weight (#4), wool or acrylic blend, approximately 200 yards
- Hook Size: 5.5 mm (US I-9)
- Notions: Tapestry needle for weaving in ends, locking stitch markers, and scissors
- Safe yarn substitutions: Cotton yarn will result in a heavier, less stretchy hat. If using cotton, choose a size smaller hook to maintain density. Acrylic blends are recommended for better elasticity and warmth.
Stitch Guide & Abbreviations (US Terms)
- ch = chain
- sc = single crochet
- hdc = half double crochet
- sl st = slip stitch
- BLO = back loop only (insert hook under the back loop of the stitch only)
- st/sts = stitch/stitches
Step-by-Step Pattern Instructions
Hat Body
You will work the body of the hat in rows to create a ribbed texture that runs vertically.
- Row 1: Ch 41. Hdc in second ch from hook and each ch across. (40 sts)
- Row 2: Ch 1, turn. Hdc in BLO of each st across. (40 sts)
- Rows 3-60: Repeat Row 2 until the piece measures approximately 20 inches wide when stretched slightly.
Assembly and Finishing
- Seaming: Fold the rectangle in half, matching the short ends. Using a tapestry needle and a length of yarn, join the two edges using a whip stitch or mattress stitch.
- Closing the Crown: With your yarn still attached or a new piece, weave the yarn through every other row along the top edge of the tube. Pull the tail tight to close the circle, creating the crown of the hat.
- Securing: Knot the yarn firmly inside the hat and weave in all loose ends to prevent the seam from unraveling.
Care & Washing Instructions
- Hand wash in cool water with a mild wool-safe detergent to maintain fiber integrity.
- Lay the item flat on a clean towel to air dry, reshaping it while damp to ensure it stays uniform.
- Avoid wringing or twisting the hat, as this can stretch the stitches out of shape permanently.
Pro Tips & Common Mistakes to Avoid
- Maintain consistent tension throughout the project; if your stitches are too tight, the hat will be stiff, but if they are too loose, it will lose its shape quickly.
- Use a stitch marker at the start of every row to ensure you do not accidentally skip the final stitch, which often causes the rectangle to taper into a triangle.
- Weave your ends into the fabric on the inside of the hat using a tapestry needle to ensure they stay hidden and secure during wear.
- Adjust the size by simply adding or subtracting rows; each row of this pattern adds approximately 1/3 of an inch to the circumference.
Frequently Asked Questions
Can I use a chunky weight yarn instead of worsted?
Yes, you can use chunky yarn, but you will need to reduce your starting chain count significantly and adjust the number of rows to match your desired head circumference.
Is this pattern suitable for someone who has only learned the chain stitch?
This is a great second project. Once you are comfortable with the half double crochet stitch, the repetitive nature of this pattern helps you master maintaining even tension.
How do I adjust this for a child’s size?
Measure the child’s head circumference and work your starting chain to match that length, then continue working rows until the hat reaches the desired width.
Can I sell the hats I make from this pattern?
Yes, you are free to sell items made from this design. Please credit the original pattern designer when posting your work on social media or online marketplaces.
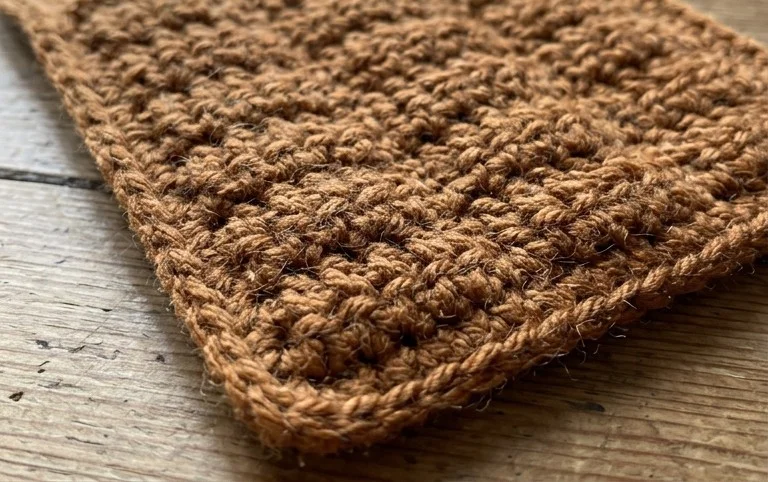
A set of these finished crochet items wrapped in natural twine makes a thoughtful gift that actually gets used in the kitchen every single day. If you prefer a more modern look, try using a variegated yarn to create subtle stripes without changing colors manually. Please share a photo of your finished work on social media so others can see your color choices. You can find more free patterns for handmade home decor and seasonal gifts right here on the blog whenever you are ready for your next project.